Welcome back to my Microsoft Sentinel Blogseries! In this episode I will give you some basic examples of how to deploy a Basic Sentinel Instance (trough the Azure Portal) addressing the Sentinel Intance, Data Connectors, Analytics Rules and a Playbook setup! Please make sure to read my previous blog about these subjects first!
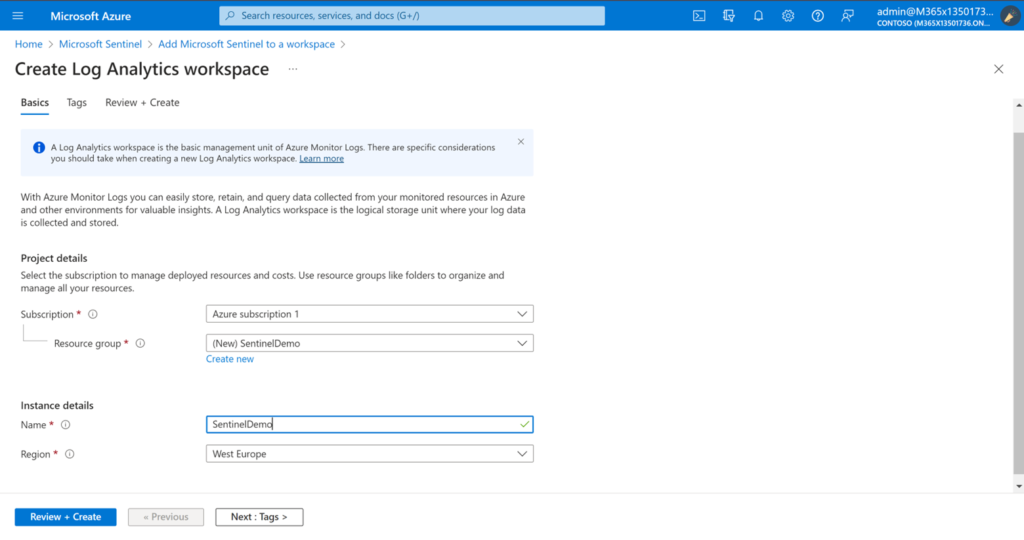
Creating a Log Analytics Workspace

- From the Log Analytics workspaces menu in the Azure portal, select your workspace.
- Select Usage and estimated costs in the left pane.
- Select Data Retention at the top of the page.
- Change retention to a retention you would like to use, for example 365 days.
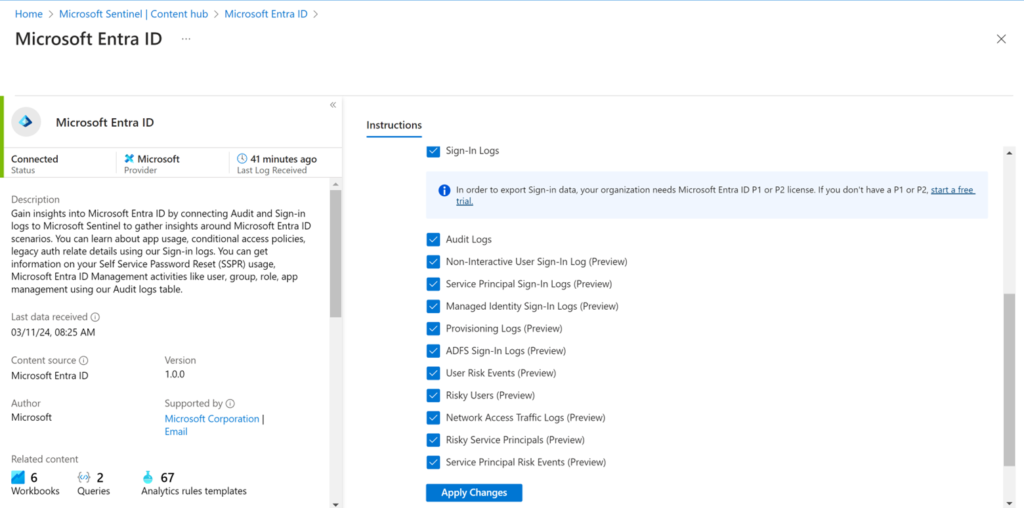
- After creation make sure you set the Entra ID Diagnostic settings to send all of the logs to this Workspace!
Creating a Sentinel Instance
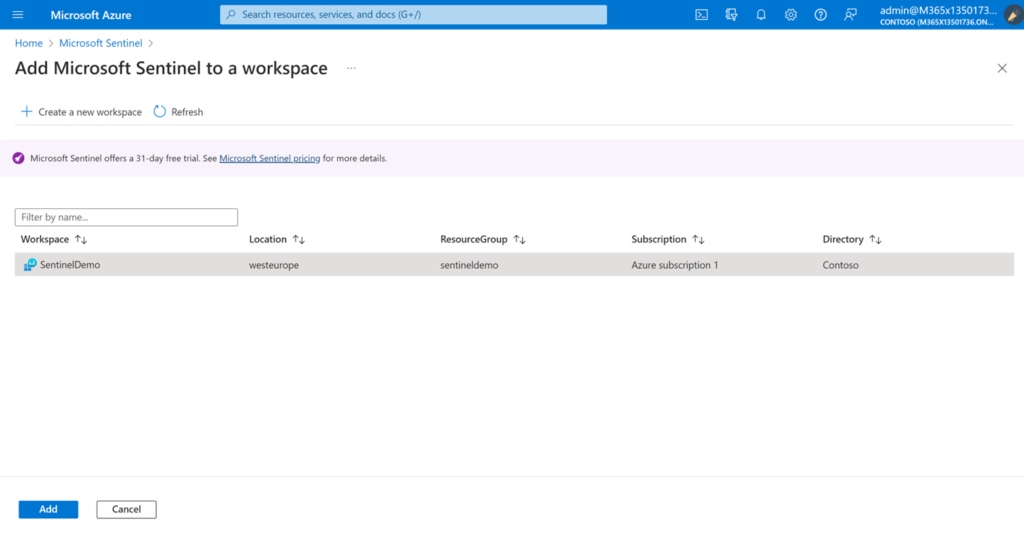
- Click “Add”, this takes a while.
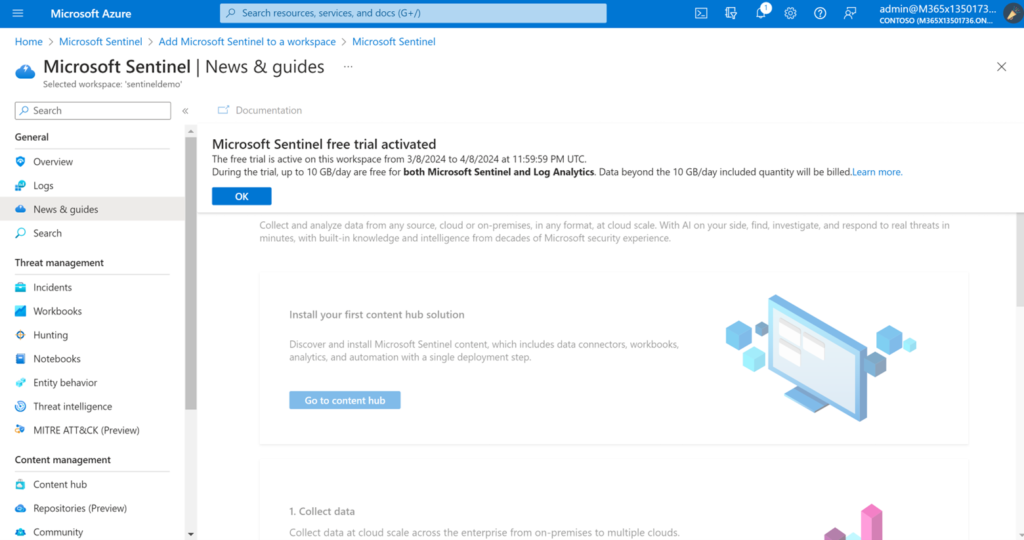
- Finally you are presented with Microsoft Sentinel!
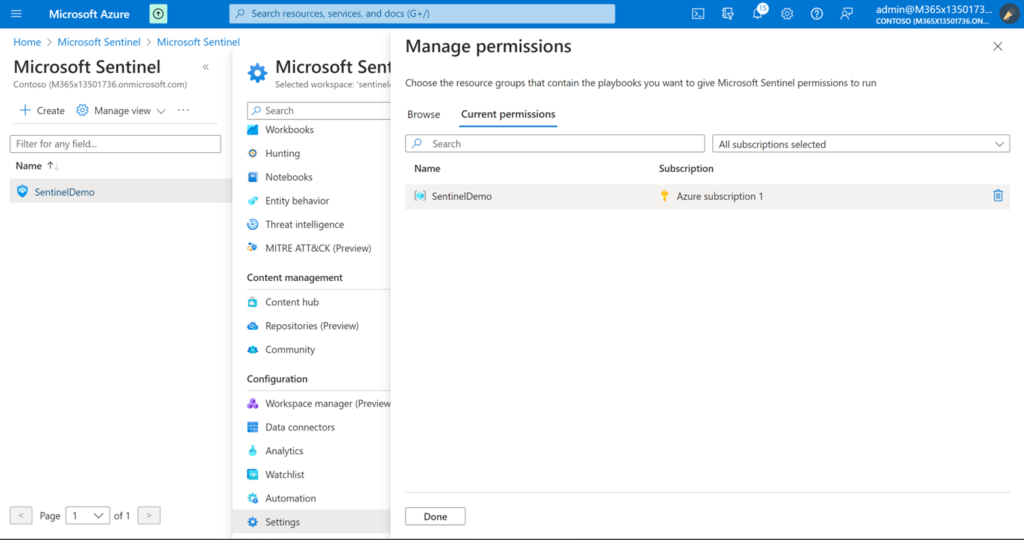
- Within Sentinel, go to Settings -> Playbook Settings and give Sentinel Access to run Paybooks in your Subscription(s)
- Now we are ready to get started with Configuring Microsoft Sentinel!
Implementing a Data Connector
Now we have an Sentinel Instance configured we are ready to create our first Data Connector! For this example I’m going to configure Microsoft Entra ID.
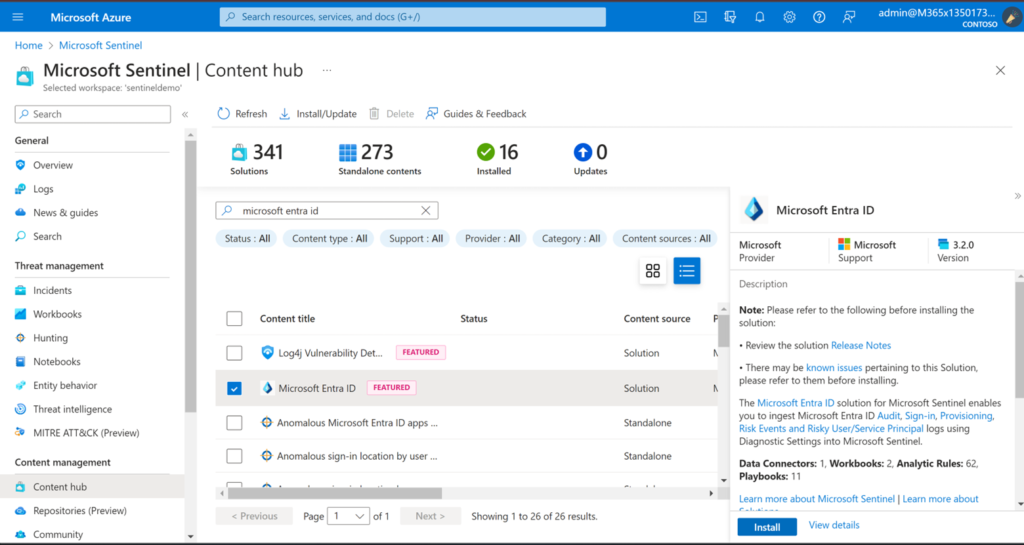
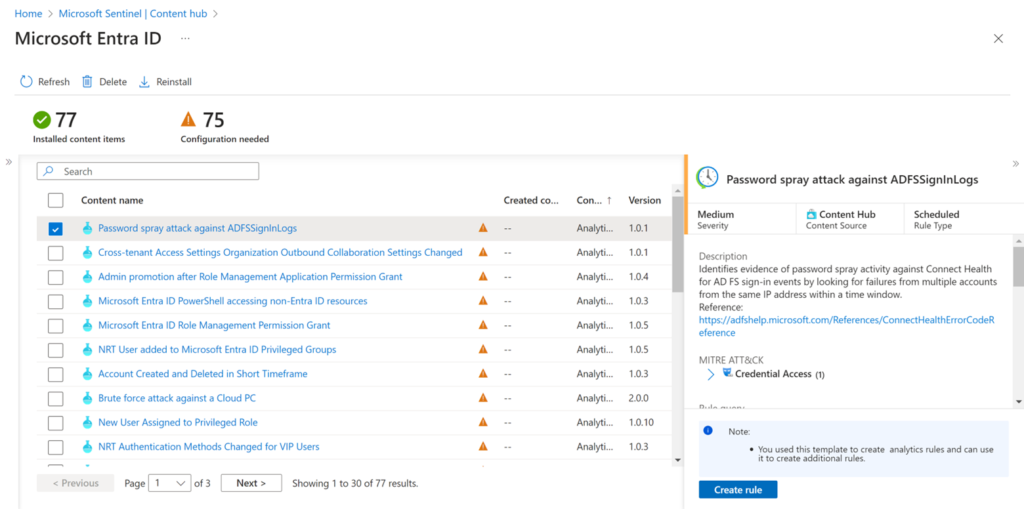
- Within Sentinel go to the Content Hub and search for “Micosoft Entra ID”
- Please click “Install” -> Note: you see that there are Analytics Rules, Workbooks and Playbooks in this Solution which we are configuring later!
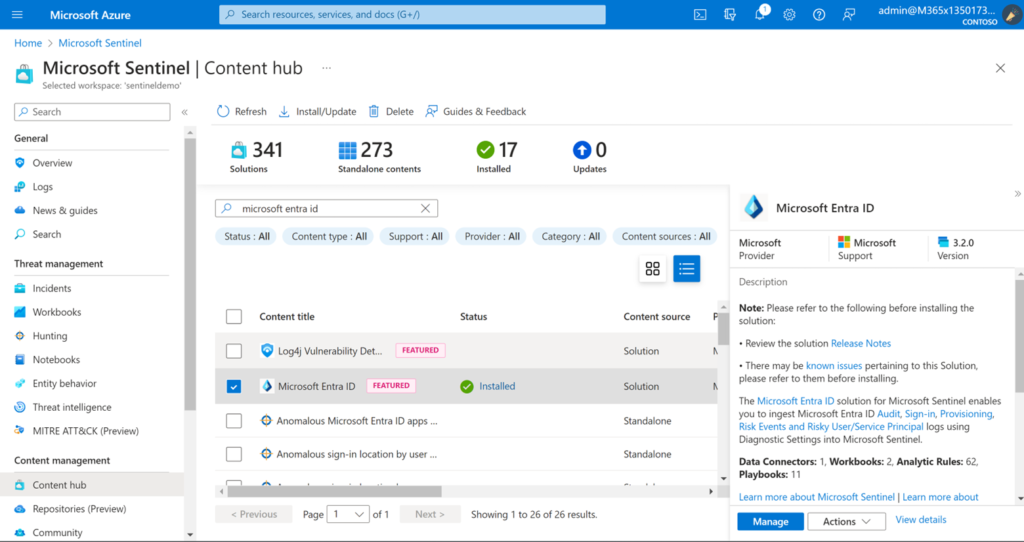
- Your Data Connector is now ready to import Data into Sentinel (this might take up to 24 hours
Implementing a Analytics Rule
In this example we are going to use an Analytics Rule which is associated with the Microsoft Entra ID Data Connector
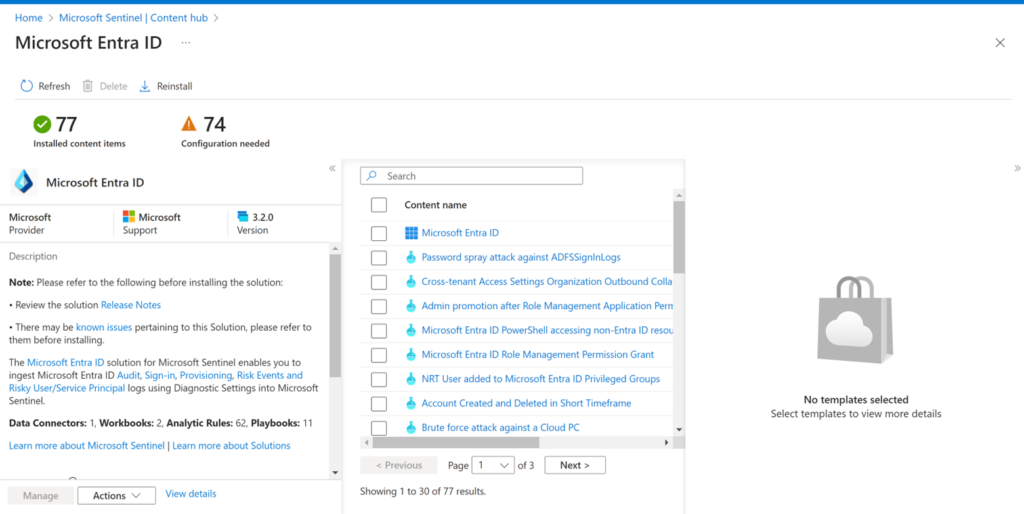
- Go to the Solution Settings menu as shown in step 4 of the previous Subject.
- Select a rule of your choice and “Create Rule”
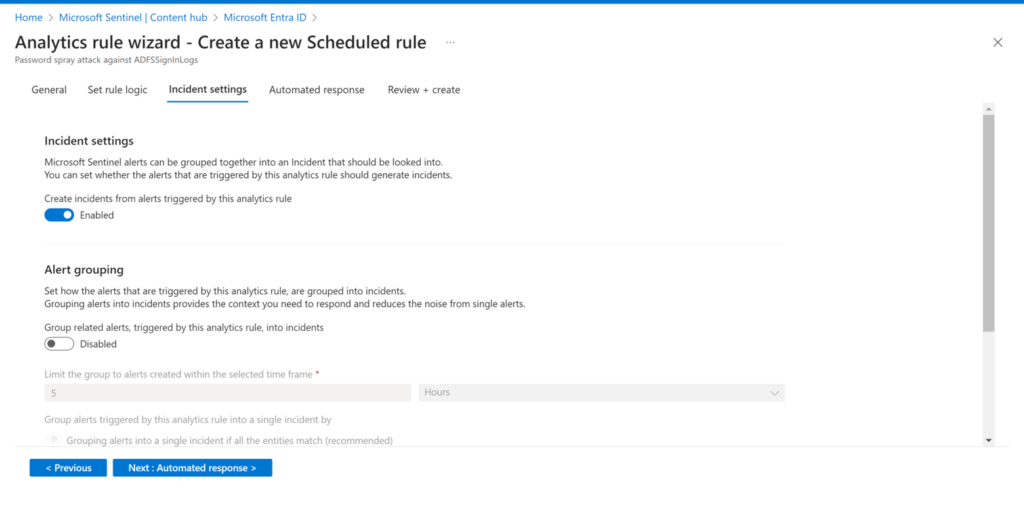
- Now we are in the Rule Settings, you are able to change information and logic of this rule template to match your own requirements.
- On the Incident Settings, configure if your want Sentinel to create Incidents based on this Rule
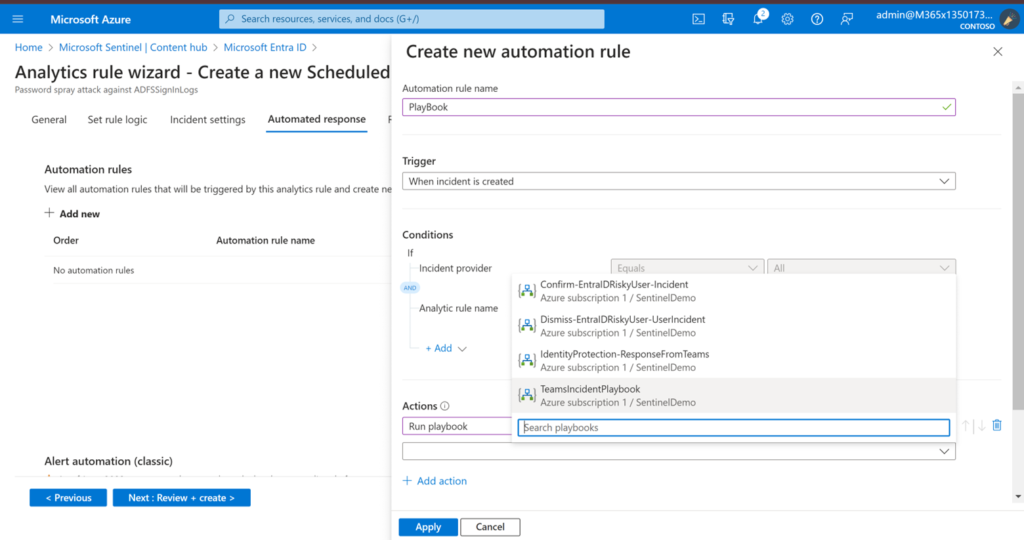
- On the Automation response tab, you can add actions as you desire. For example running a Playbook when this Alert occurs!
- Your rule is now active!
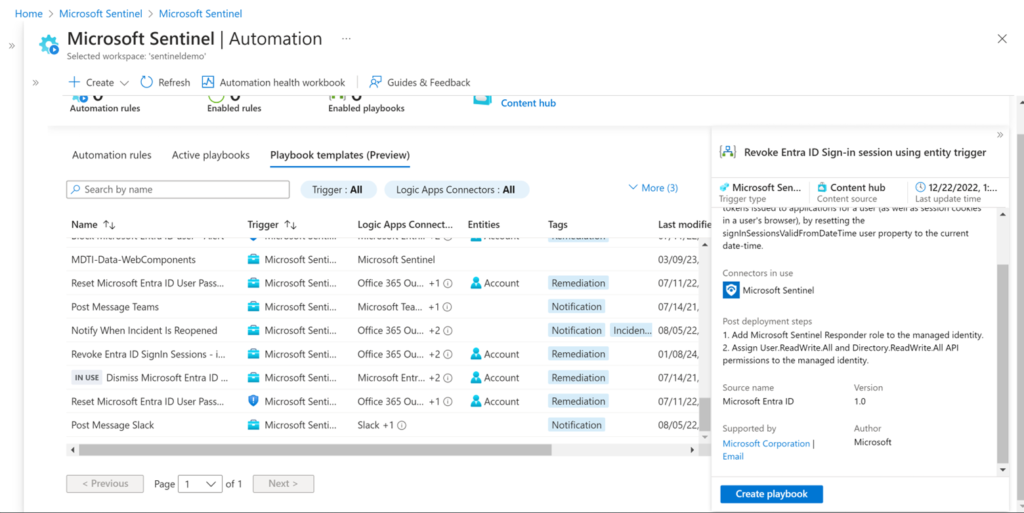
Implementing a Playbook
In this example we are going to use an Playbook which is associated with the Microsoft Entra ID Data Connector
- Go to the Solution Settings menu as shown in step 4 of the previous Subject.
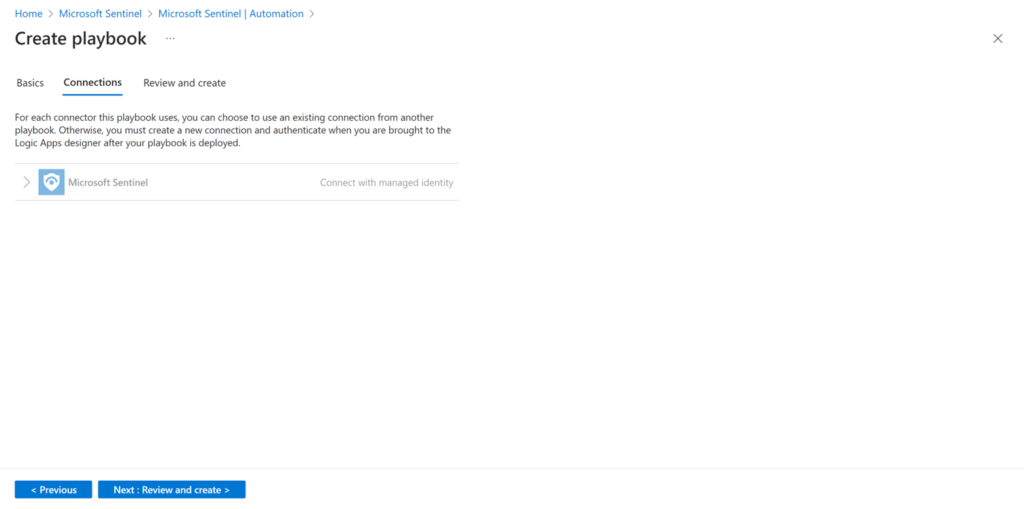
- Select a Playbook and Select Configuration
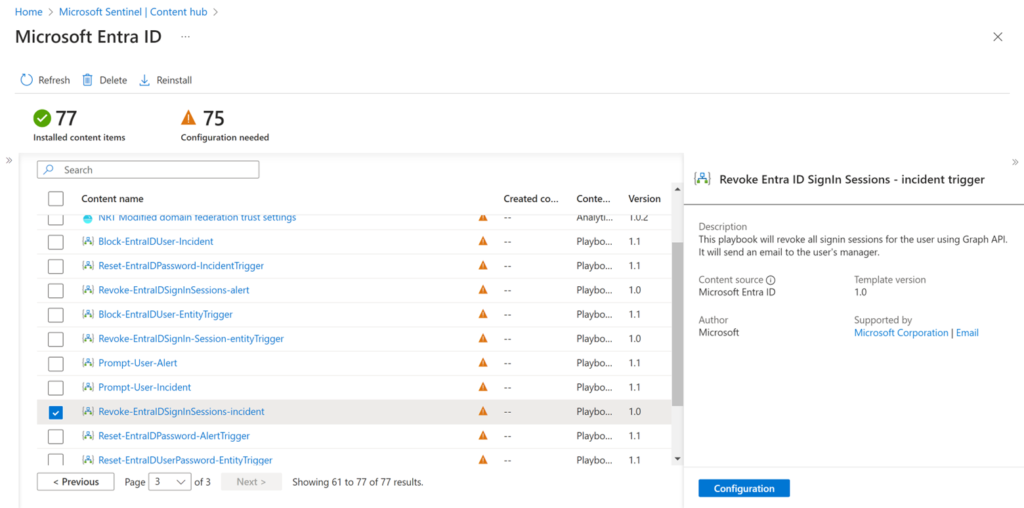
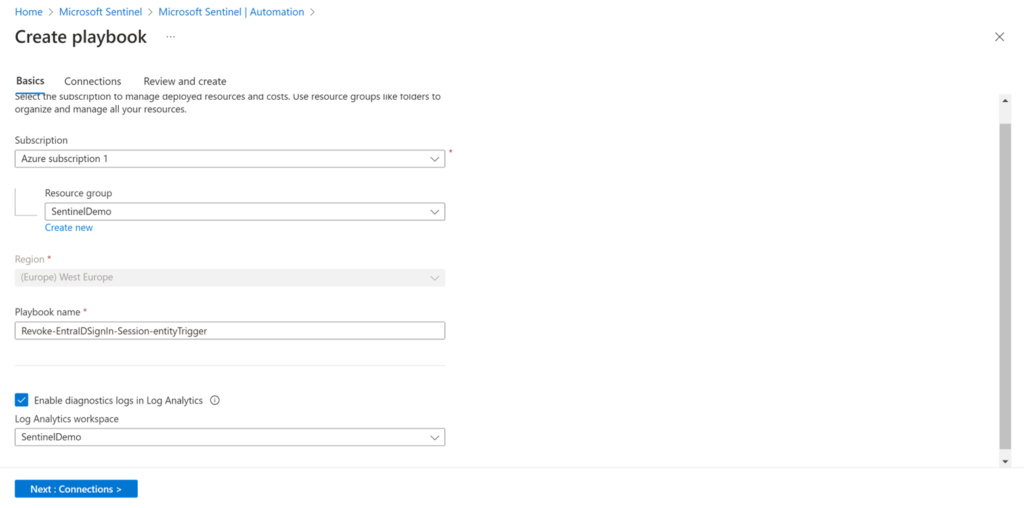
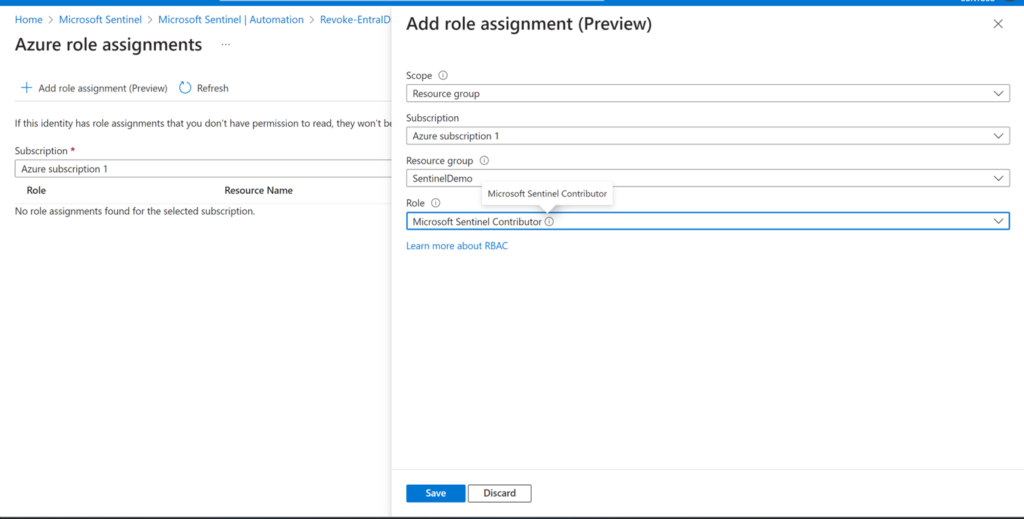
- Note the Connections that are needed, sometime the Paybooks create Managed Identities which need additional Roles!
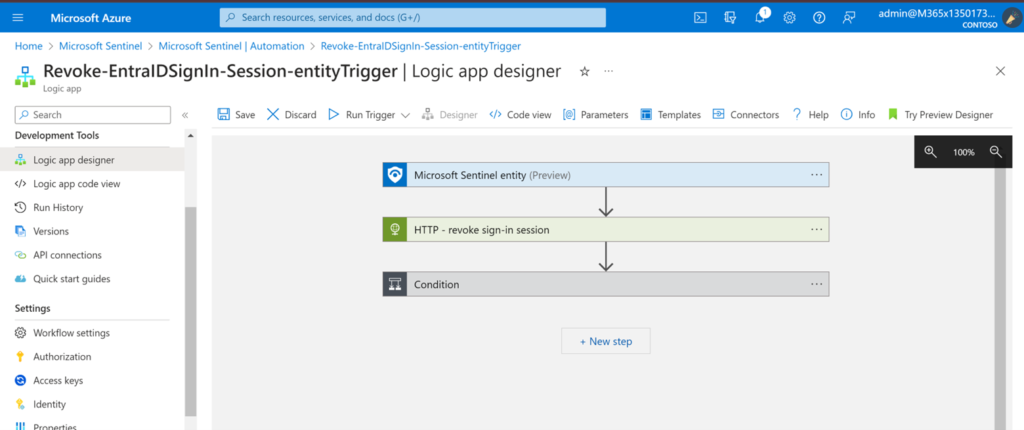
- Now your Playbook is ready to go! Please add as an automation action to Analytics Rules 😊
I hope that with this blog in the Sentinel Series you will be able to setup a Basic Microsoft Sentinel Instance! Please follow my upcoming blogs about more Sentinel Features!